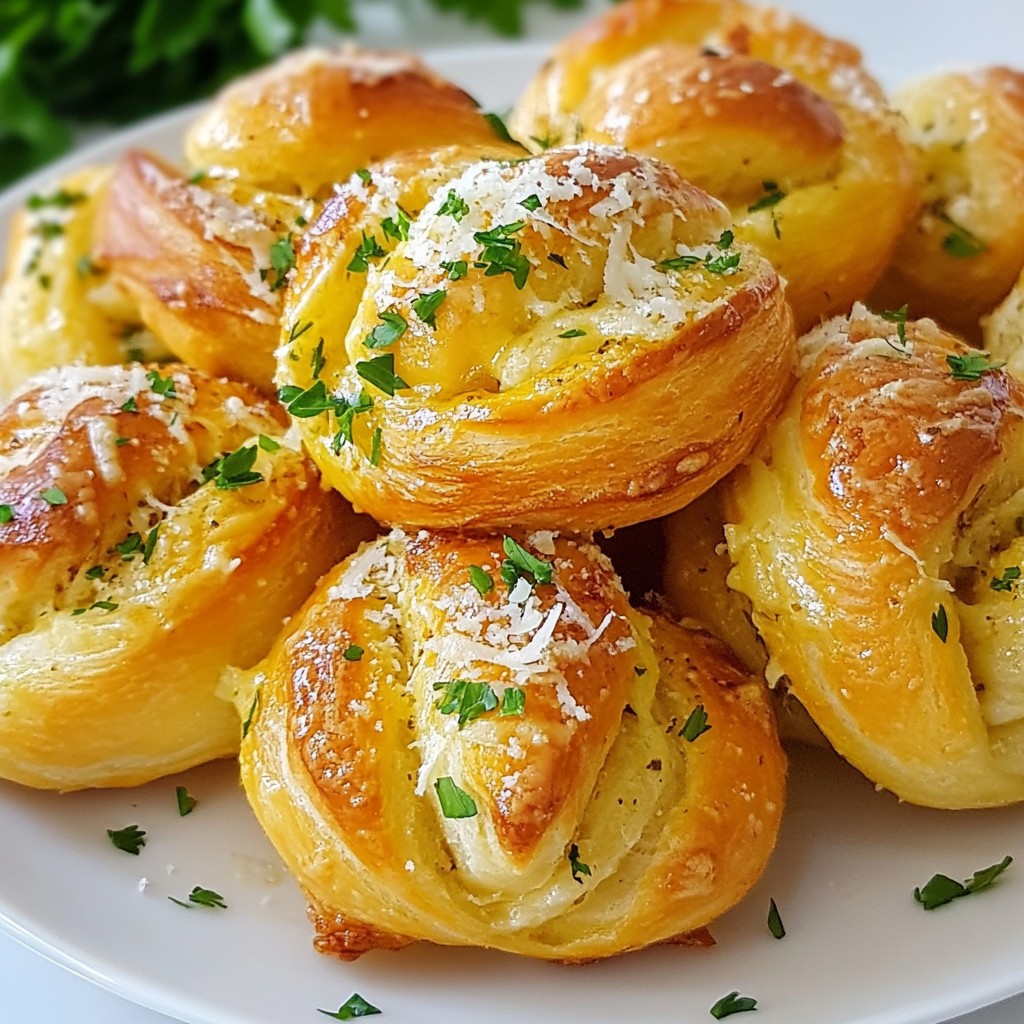
If you crave a warm, buttery treat, you’ll love my Garlic Herb Pull-Apart Rolls. They are super easy to make and will impress everyone at your dinner table. I’ll guide you through the simple steps, share tips to avoid common mistakes, and offer delicious variations. Get ready to enjoy soft, fluffy rolls packed with garlic goodness. Let’s dive into the recipe and make your kitchen smell amazing!
Why I Love This Recipe
- Delicious Flavor Combination: The garlic and herbs create a mouthwatering aroma and taste that pairs perfectly with any meal.
- Easy to Make: This recipe is straightforward and requires minimal ingredients, making it accessible for bakers of all skill levels.
- Fun to Share: These pull-apart rolls are great for gatherings, allowing everyone to enjoy tearing off their own piece.
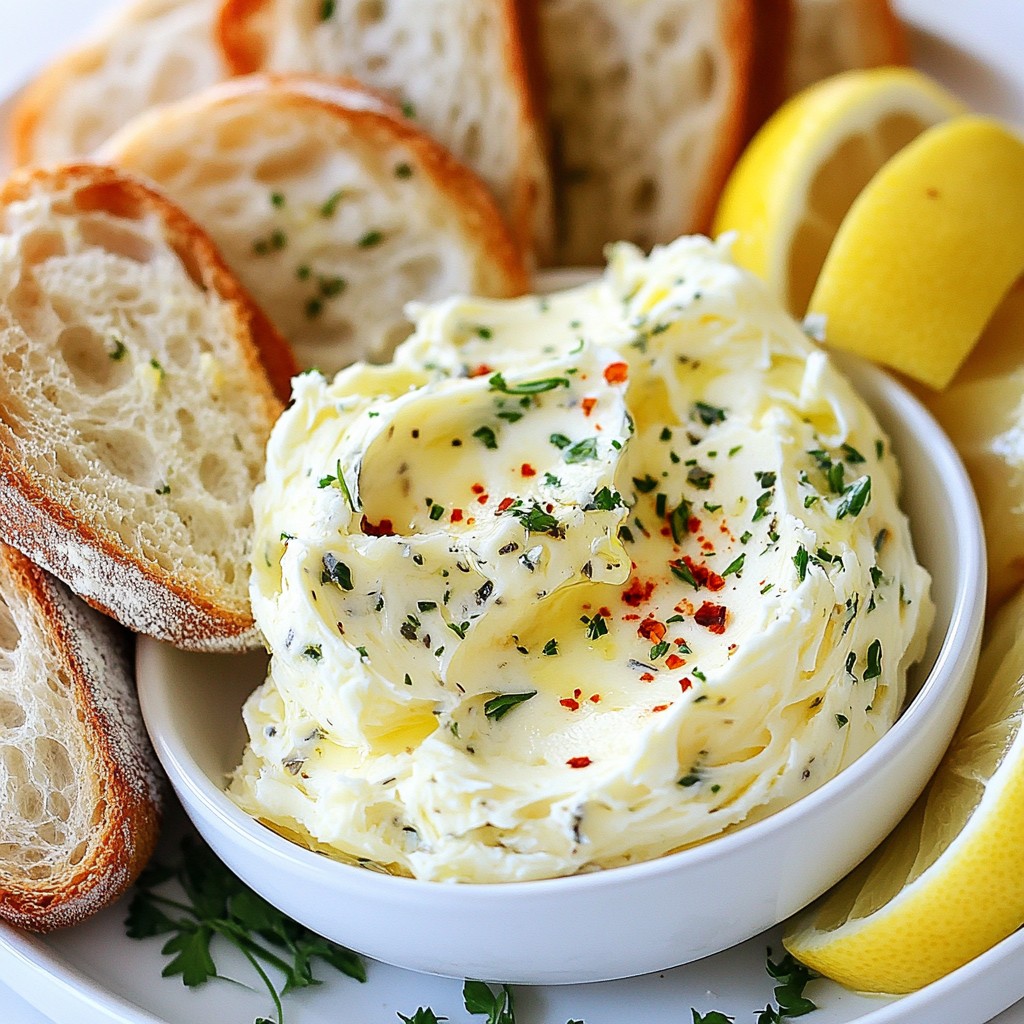
- Versatile Serving Options: They can be enjoyed warm on their own, with garlic butter, or as a delightful side to soups and stews.
Ingredients
List of Required Ingredients
To make Garlic Herb Pull-Apart Rolls, gather these key items:
– 3 cups all-purpose flour
– 1 packet (2 ¼ teaspoons) active dry yeast
– 1 teaspoon granulated sugar
– 1 teaspoon fine sea salt
– 1 cup warm water (about 110°F or 43°C)
– 3 tablespoons garlic butter, melted
– 2 tablespoons fresh parsley, finely chopped
– 1 tablespoon fresh rosemary, finely chopped
– ½ teaspoon dried oregano
– ½ teaspoon dried thyme
– 2 tablespoons extra virgin olive oil
– 1 egg (for egg wash)
Optional Ingredients for Enhanced Flavor
You can enhance the flavor of your rolls with these optional ingredients:
– Fresh basil for a sweet touch
– Parmesan cheese for a savory kick
– A pinch of red pepper flakes for heat
– Sun-dried tomatoes for a burst of sweetness
Ingredient Substitutions and Variations
If you’re missing an ingredient, here are some swaps:
– Use bread flour instead of all-purpose flour for a chewier texture.
– Instant yeast can replace active dry yeast without the need for proofing.
– Substitute melted butter for garlic butter if you want a simple taste.
– Olive oil can be switched with melted coconut oil for a different flavor.
– Fresh herbs can be replaced with dried herbs, but use less since dried herbs are stronger.
These ingredients form the base for the rolls, ensuring a delightful flavor that’s hard to resist. Feel free to mix and match based on your taste!

Step-by-Step Instructions
Activating the Yeast
To start, mix warm water, sugar, and yeast in a small bowl. Let it sit for 5-10 minutes. You want it to become frothy and bubbly. This means the yeast is alive and ready. If it does not froth, your yeast might be old. Try again with fresh yeast.
Mixing and Kneading the Dough
In a large bowl, whisk together the flour and salt. Make a small well in the center. Pour in the frothy yeast mixture and olive oil. Stir until a sticky dough forms. Transfer the dough to a floured surface. Knead it with your hands for 5-7 minutes. The dough should become smooth and elastic. If it’s too sticky, add a little more flour.
First Rise and Shaping the Dough Balls
Lightly grease a bowl with olive oil. Place the kneaded dough inside and cover it with a damp cloth. Let it rise in a warm spot for about 1 hour. It should double in size. After it rises, gently punch it down. Divide the dough into small pieces, about 1-2 inches wide. Roll each piece into a smooth ball.
Preparing the Garlic Herb Mixture
In a small bowl, mix melted garlic butter with fresh parsley, rosemary, oregano, thyme, and a pinch of salt. Stir well to combine. This mixture adds flavor to your rolls. Make sure it is well-blended for the best taste.
Assembling and Second Rise
Dip each dough ball into the garlic herb mixture. Ensure each ball is fully coated. Prepare a round baking pan by greasing it with olive oil. Arrange the coated dough balls in the pan, stacking them slightly. Cover the pan with a kitchen cloth. Let them rise for another 30 minutes. This step makes them fluffy.
Baking the Rolls
Preheat your oven to 375°F (190°C). In a small bowl, whisk the egg for an egg wash. Brush the egg wash over the tops of the rolls. This gives them a golden crust. Bake the rolls for 20-25 minutes. They should puff up and turn golden brown. Once baked, let them cool slightly before pulling them apart. Enjoy them warm!
Tips & Tricks
Common Mistakes to Avoid
When making Garlic Herb Pull-Apart Rolls, avoid these errors:
– Wrong water temperature: Use warm water around 110°F. Too hot can kill the yeast.
– Not letting the dough rise: Allow the dough to double in size. This makes it soft and fluffy.
– Skipping the egg wash: Brushing the rolls with egg gives them a nice golden color.
Best Practices for Perfect Rolls
To ensure your rolls turn out great, follow these tips:
– Knead well: Knead the dough for 5-7 minutes until smooth and elastic.
– Use fresh herbs: Fresh herbs like parsley and rosemary boost flavor.
– Stack rolls gently: When placing dough balls in the pan, stack them lightly for easy pulling.
Presentation Tips for Serving
Make your Garlic Herb Pull-Apart Rolls shine when served:
– Serve warm: Enjoy them fresh from the oven for the best taste.
– Garnish with herbs: Sprinkle extra fresh herbs on top for color and aroma.
– Use a rustic board: Transfer the rolls to a wooden board for a lovely display.
Pro Tips
- Use Fresh Herbs: Fresh herbs like parsley and rosemary enhance the flavor of the rolls significantly. Use them if possible for the best taste.
- Check Yeast Freshness: Always check the expiration date on your yeast. If it’s expired, it may not activate properly, resulting in dense rolls.
- Let Dough Rise Properly: For optimal fluffiness, ensure the dough rises in a warm environment, free from drafts. A turned-off oven with the light on works well.
- Storage Tips: Store leftover rolls in an airtight container at room temperature for up to 2 days, or freeze them for up to a month. Reheat in the oven for best results.
Variations
Adding Cheese or Other Herbs
You can easily take your garlic herb pull-apart rolls to the next level by adding cheese. Try mixing in shredded mozzarella or Parmesan. Both melt well and add a rich flavor. You can also use herbs like basil or thyme. Fresh or dried herbs work great. Just remember to balance the flavors. Too much can overwhelm the garlic.
Different Cooking Methods (e.g., Air Fryer)
You can make these rolls in an air fryer for a quick option. Preheat your air fryer to 350°F (175°C). Place the rolls in a single layer, ensuring they have space to rise. Cook for about 10-12 minutes, checking for a golden crust. The air fryer gives a crisp outside and soft inside. It’s fast and easy, perfect for busy days.
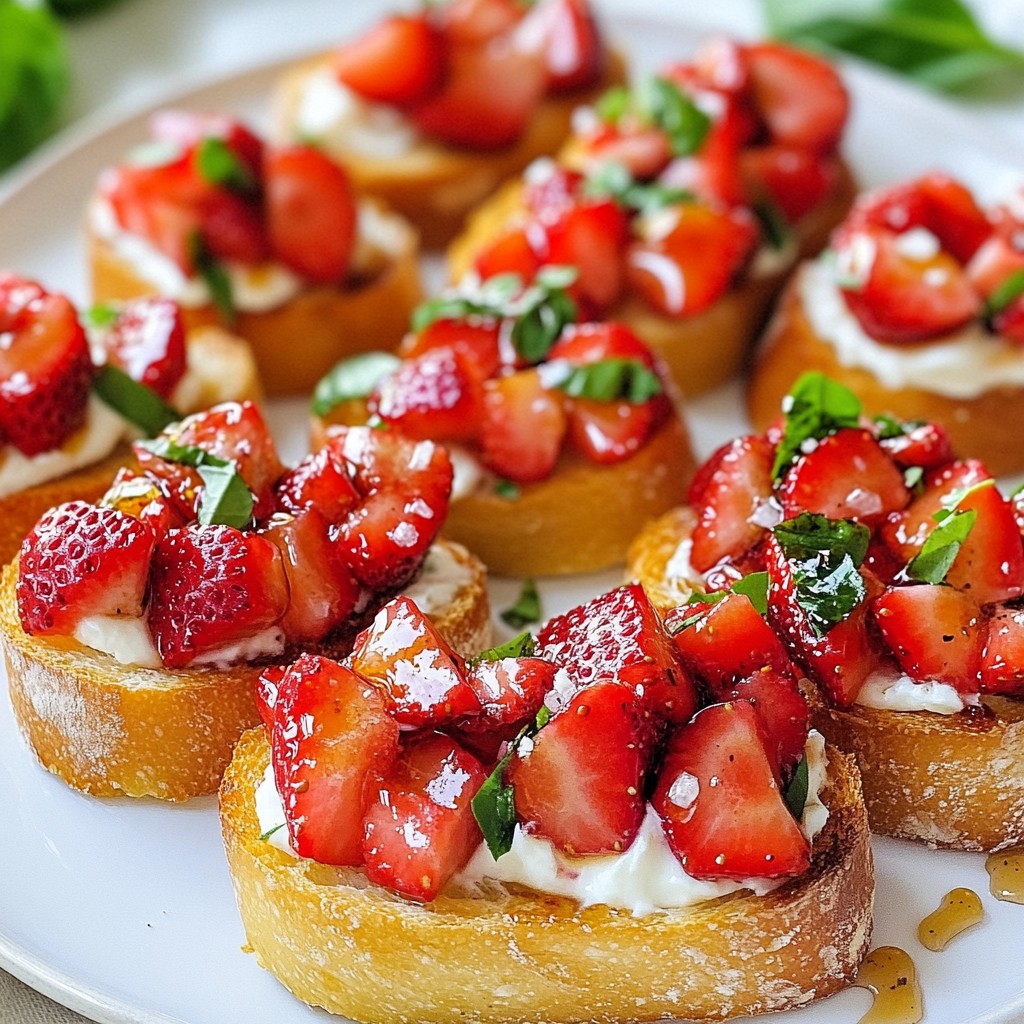
Sweet vs. Savory Options
Want to try something new? You can make sweet pull-apart rolls too! Instead of garlic and herbs, use cinnamon and sugar. Mix butter with brown sugar and vanilla. Coat the dough balls in this mixture before baking. You can even add raisins or nuts for texture. This twist is perfect for breakfast or dessert.
Storage Info
How to Store Leftover Rolls
After enjoying your Garlic Herb Pull-Apart Rolls, you may have some left. To store them, place the rolls in an airtight container. This keeps them soft and fresh. If you don’t have a container, wrap them tightly in plastic wrap. Store them at room temperature for up to three days. Avoid putting them in the fridge as it may dry them out.
Freezing Instructions
Freezing is a great way to keep your rolls longer. First, let the rolls cool completely. Then, wrap each roll in plastic wrap. After that, place the wrapped rolls in a freezer bag. Remove as much air as possible before sealing. You can freeze them for up to three months. When you’re ready to enjoy them again, just let them thaw at room temperature.
Reheating Tips for Optimal Freshness
To reheat your rolls, you have a few options. The oven method works best. Preheat your oven to 350°F (175°C). Place the rolls on a baking sheet and cover them with aluminum foil. Heat for about 10-15 minutes until warm. This keeps them soft and restores their fresh taste. You can also use a microwave, but it may make them a bit chewy. Heat for 10-15 seconds at a time until warm. Enjoy your rolls just like they were fresh out of the oven!
FAQs
How do I know if my yeast is active?
You can check if your yeast is active by mixing it with warm water and sugar. Wait for 5-10 minutes. If it bubbles and froths, your yeast is alive. This step is key for fluffy rolls. If it does not bubble, your yeast may be old or dead. You should get fresh yeast for best results.
Can I make these rolls ahead of time?
Yes, you can make these rolls ahead of time. After the first rise, you can shape the dough and store it in the fridge. Cover it well with plastic wrap. You can bake them later, just let them rise again for about 30 minutes before baking.
What can I serve with Garlic Herb Pull-Apart Rolls?
These rolls pair well with many dishes. You can serve them with soups, salads, or pasta. They are great with extra garlic butter or marinara sauce for dipping. Try them with a hearty stew for a comforting meal.
How long do the rolls stay fresh?
The rolls stay fresh for about 2-3 days at room temperature. Keep them in an airtight container. If you want to keep them longer, freeze them. They can last up to 3 months in the freezer. Just warm them up when you’re ready to enjoy.
In this post, we explored how to make Garlic Herb Pull-Apart Rolls. We covered required and optional ingredients, along with substitutions. I shared step-by-step instructions for making the dough, baking, and serving. Tips helped you avoid common mistakes and offered a few fun variations. Finally, I provided best practices for storage and reheating leftovers.
Baking these rolls adds warmth to any meal. Enjoy trying different flavors and impressing your loved one